简单好用可任意定制的iOS Popover气泡效果
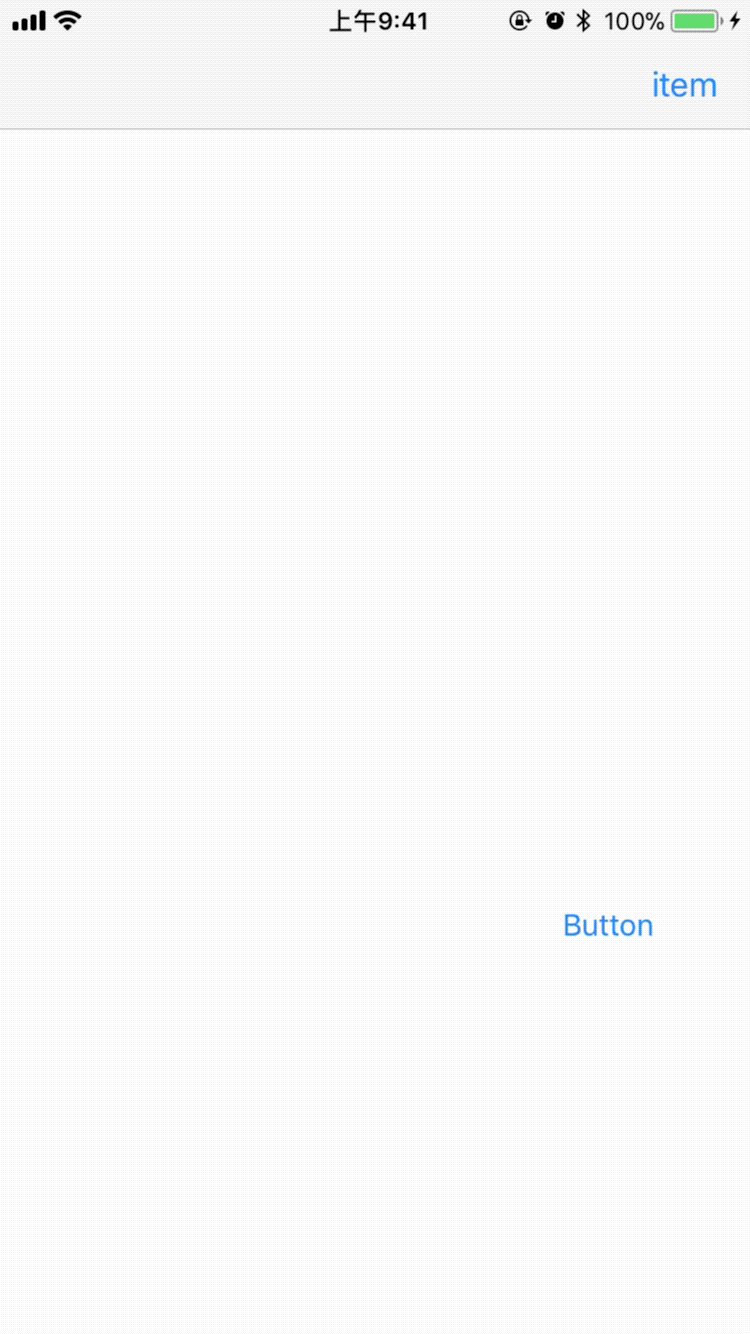
效果图如下所示:
swift: https://github.com/corin8823/Popover OC: https://github.com/Assuner-Lee/PopoverObjC
使用示例
pod 'PopoverObjC'
#import "ASViewController.h"
#import <PopoverObjC/ASPopover.h>
@interface ASViewController ()
@property (weak, nonatomic) IBOutlet UIButton *btn;
@property (nonatomic, strong) ASPopover *btnPopover;
@property (nonatomic, strong) ASPopover *itemPopover;
@end
@implementation ASViewController
- (void)viewDidLoad {
 [super viewDidLoad];
 [self.btn addTarget:self action:@selector(clickBtn:) forControlEvents:UIControlEventTouchUpInside];
 self.navigationItem.rightBarButtonItem = [[UIBarButtonItem alloc] initWithTitle:@"item" style:UIBarButtonItemStylePlain target:self action:@selector(clickItem:)];
}
- (void)didReceiveMemoryWarning {
}
初始化Popover
- (ASPopover *)btnPopover {
 if (!_btnPopover) {
 ASPopoverOption *option = [[ASPopoverOption alloc] init];
 option.popoverType = ASPopoverTypeUp;
 option.autoAjustDirection = NO;
 option.arrowSize = CGSizeMake(9, 6);
 option.blackOverlayColor = [UIColor clearColor];
 option.popoverColor = [UIColor lightGrayColor];
 option.dismissOnBlackOverlayTap = YES;
 option.animationIn = 0.5;
 //...
 _btnPopover = [[ASPopover alloc] initWithOption:option];
 }
 return _btnPopover;
}
- (ASPopover *)itemPopover {
 if (!_itemPopover) {
 ASPopoverOption *option = [[ASPopoverOption alloc] init];
 option.autoAjustDirection = NO;
 option.arrowSize = CGSizeMake(10, 6);
 option.blackOverlayColor = [UIColor clearColor];
 option.sideEdge = 7;
 option.dismissOnBlackOverlayTap = YES;
 option.popoverColor = [[UIColor blackColor] colorWithAlphaComponent:0.7];
 option.autoAjustDirection = YES;
 option.animationIn = 0.4;
 option.springDamping = 0.5;
 option.initialSpringVelocity = 1;
 option.overlayBlur = [UIBlurEffect effectWithStyle:UIBlurEffectStyleLight];
 //...
 _itemPopover = [[ASPopover alloc] initWithOption:option];
 }
 return _itemPopover;
}
popover的属性可在option里设置。
弹出气泡
- (void)clickBtn:(id)sender {
 UIView *view = [[UIView alloc] initWithFrame:CGRectMake(0, 0, [UIScreen mainScreen].bounds.size.width - 50, 40)];
 [self.btnPopover show:view fromView:self.btn]; // in delegate window
}
- (void)clickItem:(id)sender {
 UIView *view = [[UIView alloc] initWithFrame:CGRectMake(0, 0, 100, 200)];
 UIView *itemView = [self.navigationItem.rightBarButtonItem valueForKey:@"view"]; // you should use custom view in item;
 if (itemView) {
// [self.itemPopover show:view fromView:itemView];
 CGPoint originPoint = [self.itemPopover originArrowPointWithView:view fromView:itemView];
 originPoint.y += 5;
 [self.itemPopover show:view atPoint:originPoint];
 }
}
@end
可在某一个视图或某一个point上弹出内容view
Popover interface
#import <UIKit/UIKit.h>
#import "ASPopoverOption.h"
typedef void (^ASPopoverBlock)(void);
@interface ASPopover : UIView
@property (nonatomic, copy) ASPopoverBlock willShowHandler;
@property (nonatomic, copy) ASPopoverBlock willDismissHandler;
@property (nonatomic, copy) ASPopoverBlock didShowHandler;
@property (nonatomic, copy) ASPopoverBlock didDismissHandler;
@property (nonatomic, strong) ASPopoverOption *option;
- (instancetype)initWithOption:(ASPopoverOption *)option;
- (void)dismiss;
- (void)show:(UIView *)contentView fromView:(UIView *)fromView;
- (void)show:(UIView *)contentView fromView:(UIView *)fromView inView:(UIView *)inView;
- (void)show:(UIView *)contentView atPoint:(CGPoint)point;
- (void)show:(UIView *)contentView atPoint:(CGPoint)point inView:(UIView *)inView;
- (CGPoint)originArrowPointWithView:(UIView *)contentView fromView:(UIView *)fromView;
- (CGPoint)arrowPointWithView:(UIView *)contentView fromView:(UIView *)fromView inView:(UIView *)inView popoverType:(ASPopoverType)type;
@end
contentView: 要显示的内容; fromView: 气泡从某一个视图上show; inview: 气泡绘制在某一个视图上,一般为delegate window; atPoint: 气泡从某一点上show; 可先获取originPoint, 偏移;
PopoverOption Interface
typedef NS_ENUM(NSInteger, ASPopoverType) {
 ASPopoverTypeUp = 0,
 ASPopoverTypeDown,
};
@interface ASPopoverOption : NSObject
@property (nonatomic, assign) CGSize arrowSize;
@property (nonatomic, assign) NSTimeInterval animationIn; // if 0, no animation
@property (nonatomic, assign) NSTimeInterval animationOut;
@property (nonatomic, assign) CGFloat cornerRadius;
@property (nonatomic, assign) CGFloat sideEdge;
@property (nonatomic, strong) UIColor *blackOverlayColor;
@property (nonatomic, strong) UIBlurEffect *overlayBlur;
@property (nonatomic, strong) UIColor *popoverColor;
@property (nonatomic, assign) BOOL dismissOnBlackOverlayTap;
@property (nonatomic, assign) BOOL showBlackOverlay;
@property (nonatomic, assign) CGFloat springDamping;
@property (nonatomic, assign) CGFloat initialSpringVelocity;
@property (nonatomic, assign) ASPopoverType popoverType;
@property (nonatomic, assign) BOOL highlightFromView;
@property (nonatomic, assign) CGFloat highlightCornerRadius;
@property (nonatomic, assign) BOOL autoAjustDirection; // down preferred, effect just in view not at point
@end
总结
以上所述是小编给大家介绍的简单好用可任意定制的iOS Popover气泡效果,希望对大家有所帮助,如果大家有任何疑问请给我留言,小编会及时回复大家的。在此也非常感谢大家对我们的支持!
您可能感兴趣的文章:
- iOS开发中UIPopoverController的使用详解
- IOS实现百度地图自定义大头针和气泡样式
相关推荐
-

IOS实现百度地图自定义大头针和气泡样式
一.自定义大头针和气泡 // 根据anntation生成对应的View - (BMKAnnotationView *)mapView:(BMKMapView *)mapView viewForAnnotation:(id <BMKAnnotation>)annotation { NSString *AnnotationViewID = [NSString stringWithFormat:@"renameMark%d",i]; newAnnotation = [[BMKPi
-
iOS开发中UIPopoverController的使用详解
一.简单介绍 1.什么是UIPopoverController 是iPad开发中常见的一种控制器(在iPhone上不允许使用) 跟其他控制器不一样的是,它直接继承自NSObject,并非继承自UIViewController 它只占用部分屏幕空间来呈现信息,而且显示在屏幕的最前面 2.使用步骤 要想显示一个UIPopoverController,需要经过下列步骤 (1)设置内容控制器 由于UIPopoverController直接继承自NSObject,不具备可视化的能力.因此UIPopover
-
简单好用可任意定制的iOS Popover气泡效果
效果图如下所示: swift: https://github.com/corin8823/Popover OC: https://github.com/Assuner-Lee/PopoverObjC 使用示例 pod 'PopoverObjC' #import "ASViewController.h" #import <PopoverObjC/ASPopover.h> @interface ASViewController () @property (weak, nonat
-
Python简单实现两个任意字符串乘积的方法示例
本文实例讲述了Python简单实现两个任意字符串乘积的方法.分享给大家供大家参考,具体如下: 题目: 给定两个任意数字组成的字符串,求乘积,字符可能很大,但是python具有无限精度的整数在这里就不需要考虑这个问题了 下面是简单的实现: #!usr/bin/env python #encoding:utf-8 ''''' __Author__:沂水寒城 功能:两个任意字符串乘积 ''' def two_strs_mutiply(one_str, two_str): ''''' ''' if on
-
iOS实现波浪效果
本文实例为大家分享了iOS实现波浪效果的具体代码,供大家参考,具体内容如下 代码: @interface ViewController () @property (strong, nonatomic) CADisplayLink *displayLink; @property (strong, nonatomic) CAShapeLayer *shapeLayer; @property (strong, nonatomic) UIBezierPath *path; @property (stro
-
vue 实现 ios 原生picker 效果及实现思路解析
以前最早实现了一个类似的时间选择插件,但是适用范围太窄,索性最近要把这个实现方式发布出来,就重写了一个高复用的vue组件. 支持安卓4.0以上,safari 7以上 效果预览 gitHub 滚轮部分主要dom结构 <template data-filtered="filtered"> <div class="pd-select-item"> <div class="pd-select-line"></di
-
iOS实现抽屉效果
本文实例为大家分享了iOS实现抽屉效果的具体代码,供大家参考,具体内容如下 抽屉效果: #import "DragerViewController.h" #define screenW [UIScreen mainScreen].bounds.size.width @interface DragerViewController () @property (nonatomic, weak) UIView *leftV; @property (nonatomic, weak) UIView
-
iOS实现转盘效果
本文实例为大家分享了iOS实现转盘效果的具体代码,供大家参考,具体内容如下 Demo下载地址: iOS转盘效果 功能:实现了常用的iOS转盘效果,轮盘抽奖效果的实现,转盘可以暂停,旋转,已经快速旋转抽奖,选中的效果指向正上方. 效果图: 工程文件目录: 核心代码: // // ViewController.m // 转盘效果 // // Created by llkj on 2017/8/31. // Copyright © 2017年 LayneCheung. All rights reser
-
iOS文字渐变色效果的实现方法
照例先上文字渐变的效果图 实现思路如下 一.创建一个颜色渐变层,渐变图层跟文字控件一样大. 二.用文字图层裁剪渐变层,只保留文字部分,就会让渐变层只保留有文字的部分,相当于间接让渐变层显示文字,我们看到的其实是被裁剪过后,渐变层的部分内容. 注意:如果用文字图层裁剪渐变层,文字图层就不在拥有显示功能,这个图层就被弄来裁剪了,不会显示,在下面代码中也会有说明. 2.1 创建一个带有文字的label,label能显示文字. 2.2 设置渐变图层的mask为label图层,就能用文字裁剪渐变图层了.
-
iOS实现选项卡效果的方法
先来看看实现效果: 控件是如何使用的 添加LMJTabDelegate代理 LMJTab * tab = [[LMJTab alloc] initWithFrame:CGRectMake(10, 50, 300, 30) lineWidth:1 lineColor:[UIColor blackColor]]; [tab setItemsWithTitle:[NSArray arrayWithObjects:@"选项一",@"选项二",@"选项三"
-
一个支持任意尺寸的图片上下左右滑动效果
常常遇到图片通过后台上传后就变形了的问题,如果你的网站风格适合,可以用这种方式来给页面布局,支持任意尺寸的图片滑动(上下左右滑动) <! DOCTYPE html> <html> <head> <meta http-equiv="Content-Type" content="text/html; charset=utf-8" /> <title>任意尺寸的图片滑动</title> <sty
-
iOS实现毛玻璃效果(无需要第三方)
本文实例分享两种iOS毛玻璃效果设置的方法,不需要任何第三方,先看效果: 原图: 方法一(iOS8系统方法): 方法二: 下面是示例代码: #import "ViewController.h" @interface ViewController () { UIImageView *_imageView; } @end @implementation ViewController - (void)viewDidLoad { [super viewDidLoad]; _imageView